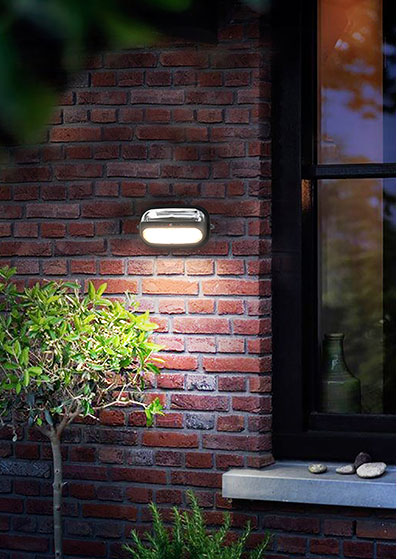
Follow these tips and tricks to learn how to mount solar lights on a brick wall without looking tacky or making the fixture too bulky.

Attaching the solar light to the brick wall is a relatively simple process and can be completed using the following steps:
- Gather the necessary tools and materials, including drill bits, drills, masonry screws, screwdrivers and solar lights.
- Place the solar lights on the wall where you want to mount them, using a tape measure to ensure they are evenly distributed and level. This will help to keep your solar luminary lights straight and secure when mounting them.
- Use a drill bit fitted with a masonry bit to drill holes in the bricks where the lights are to be mounted. The size of the hole will depend on the size of the masonry screws you are using.
- Determine which side of the wall you want the light to face. If you are installing more than one solar light, make sure they face in different directions, otherwise, they will look like a spotlight. Next, use a drill or screwdriver to tighten the screws and put your lights in place.
- Insert the masonry screws into the holes and tighten them with a screwdriver. Make sure they are securely fastened to the wall.
- Attach the solar light to the screws by screwing them into place or using the mounting brackets supplied with the light.
- Adjust the solar panels on the light to ensure they are pointing in the direction of the sun. Then turn the lights on to ensure they are working properly.